
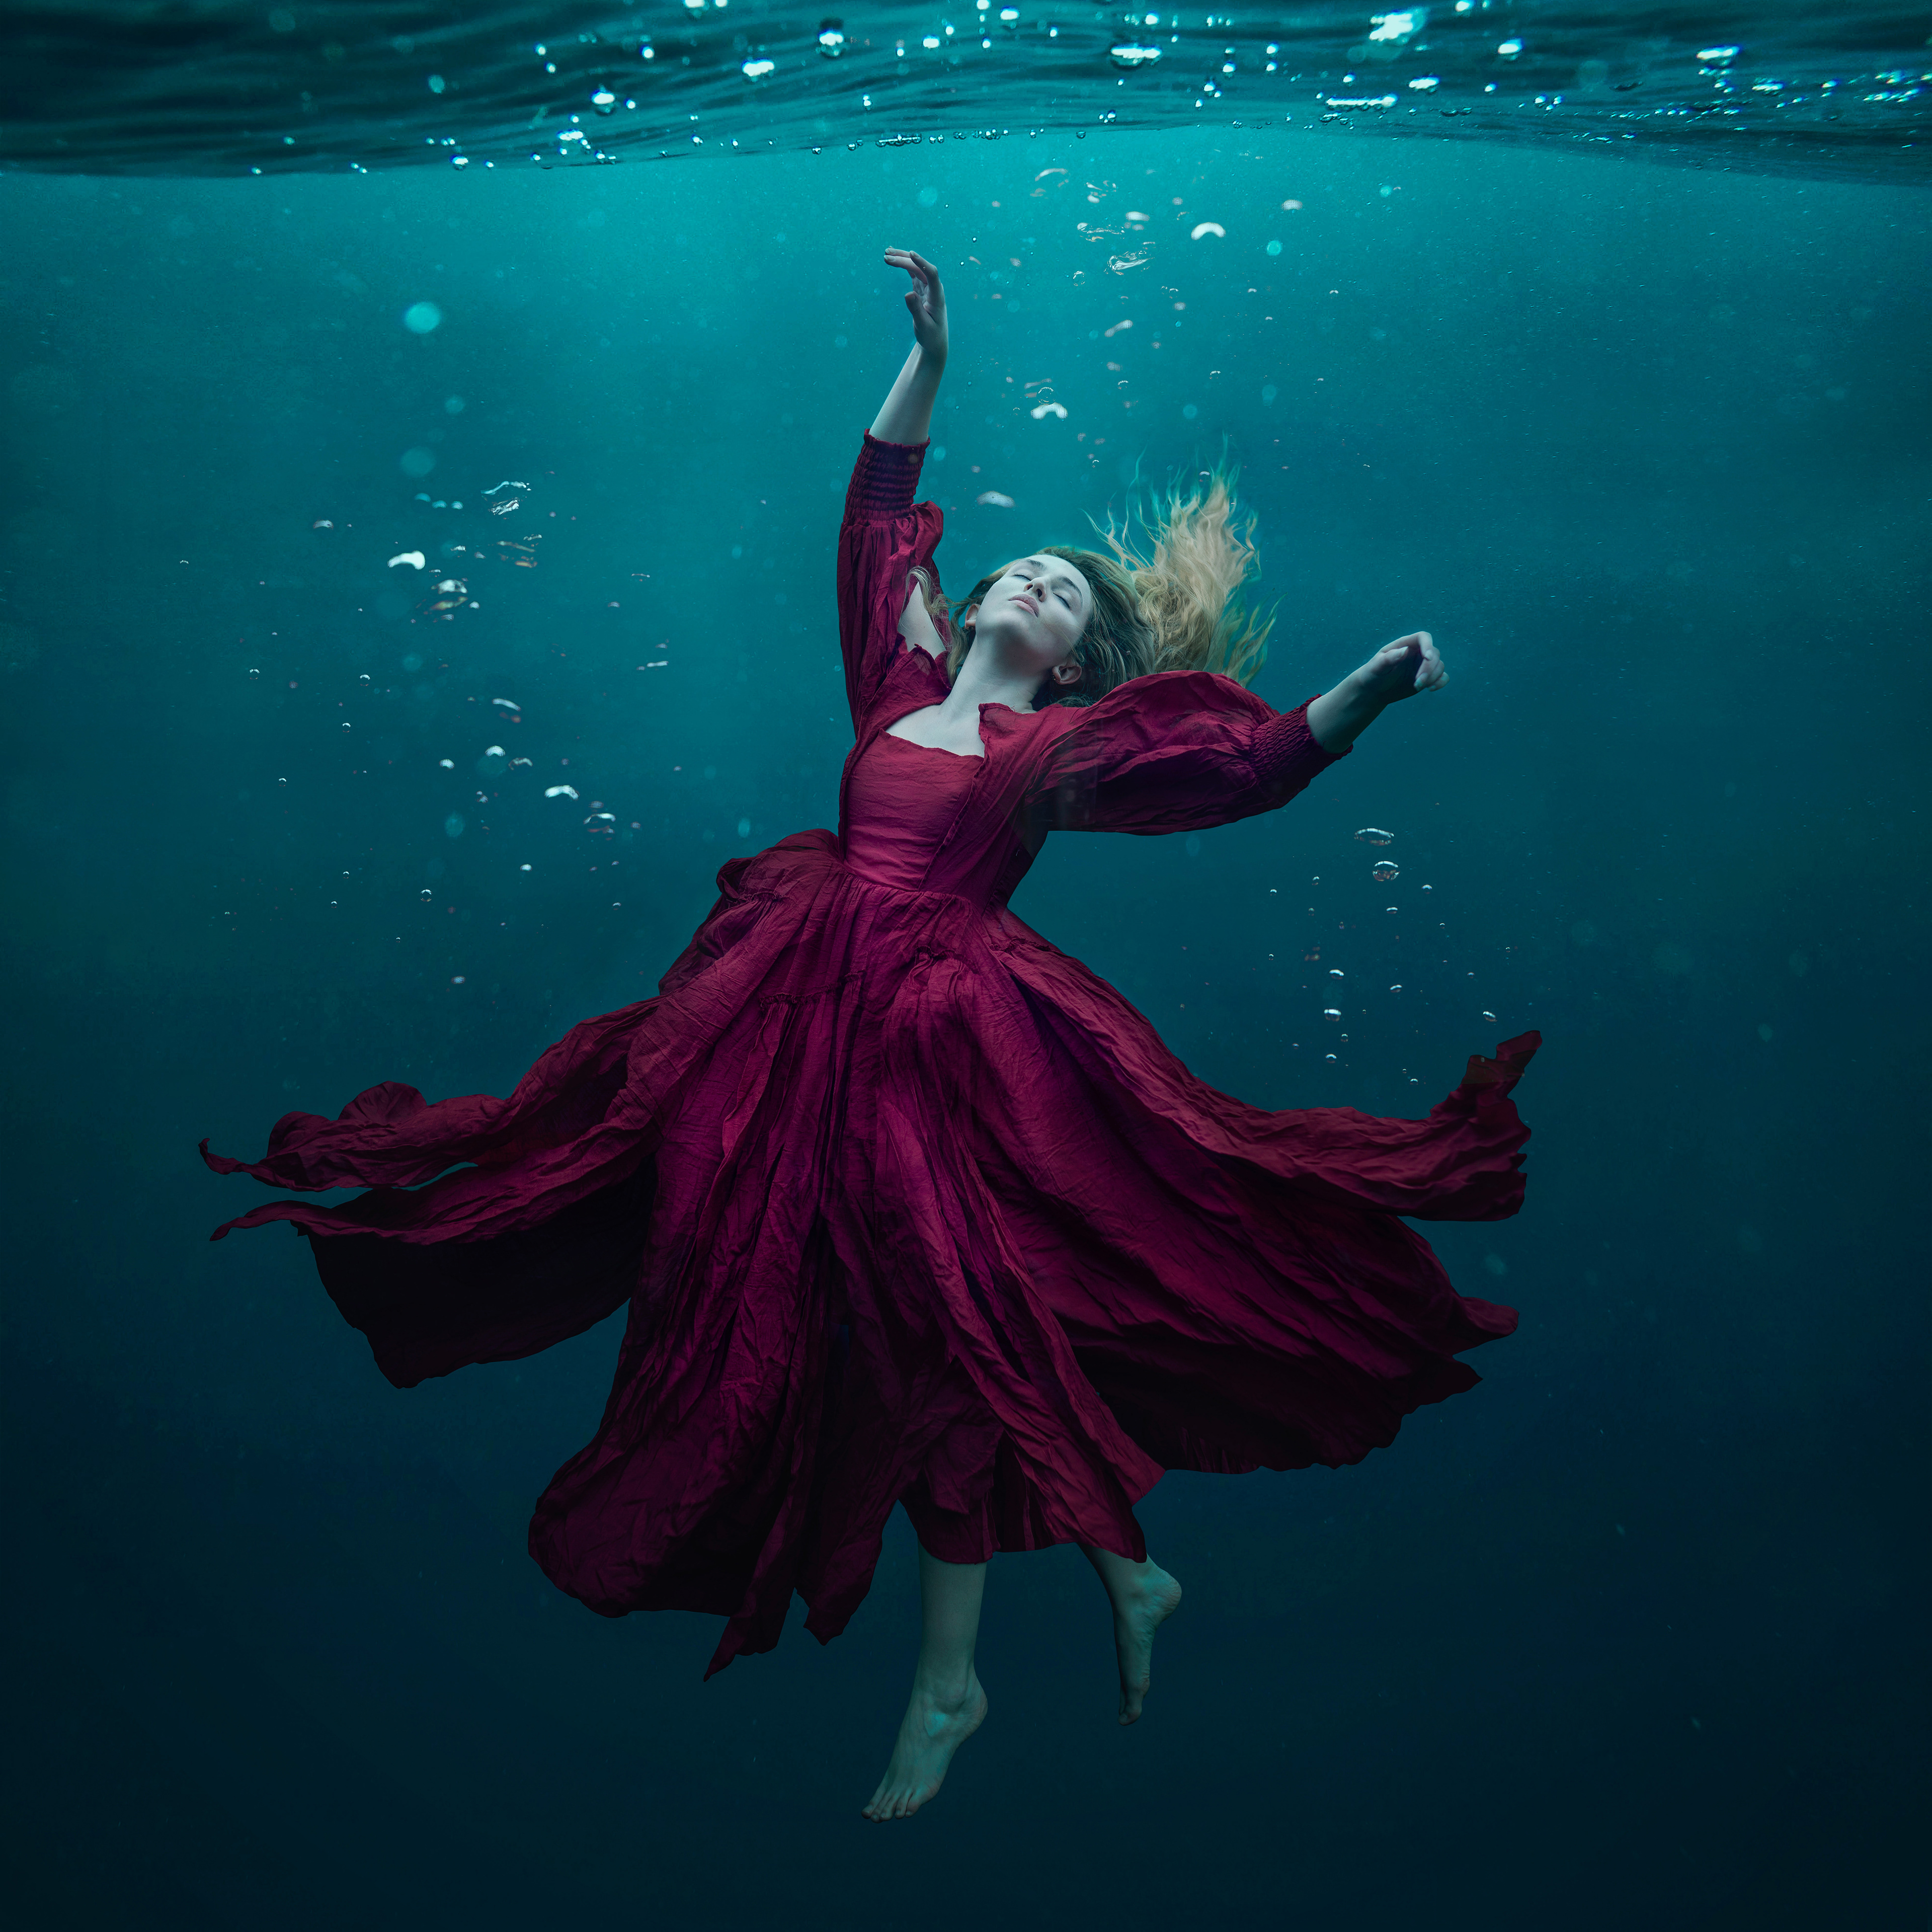
MAKING OF DEPTHS
Compositions have always been a part of my workflow. It is how I add magic and fantasy to seemingly ordinary backdrops, and make my narrative work come to life. Until the Covid-19 Pandemic, I have always shot on location, and added in the whimsical elements later. But when the UK lockdown was introduced, I had to find a new way of creating without leaving the confines of my own garden. This led to me having to get even more creative with my compositional work! This post will take you through my editing process for Depths.
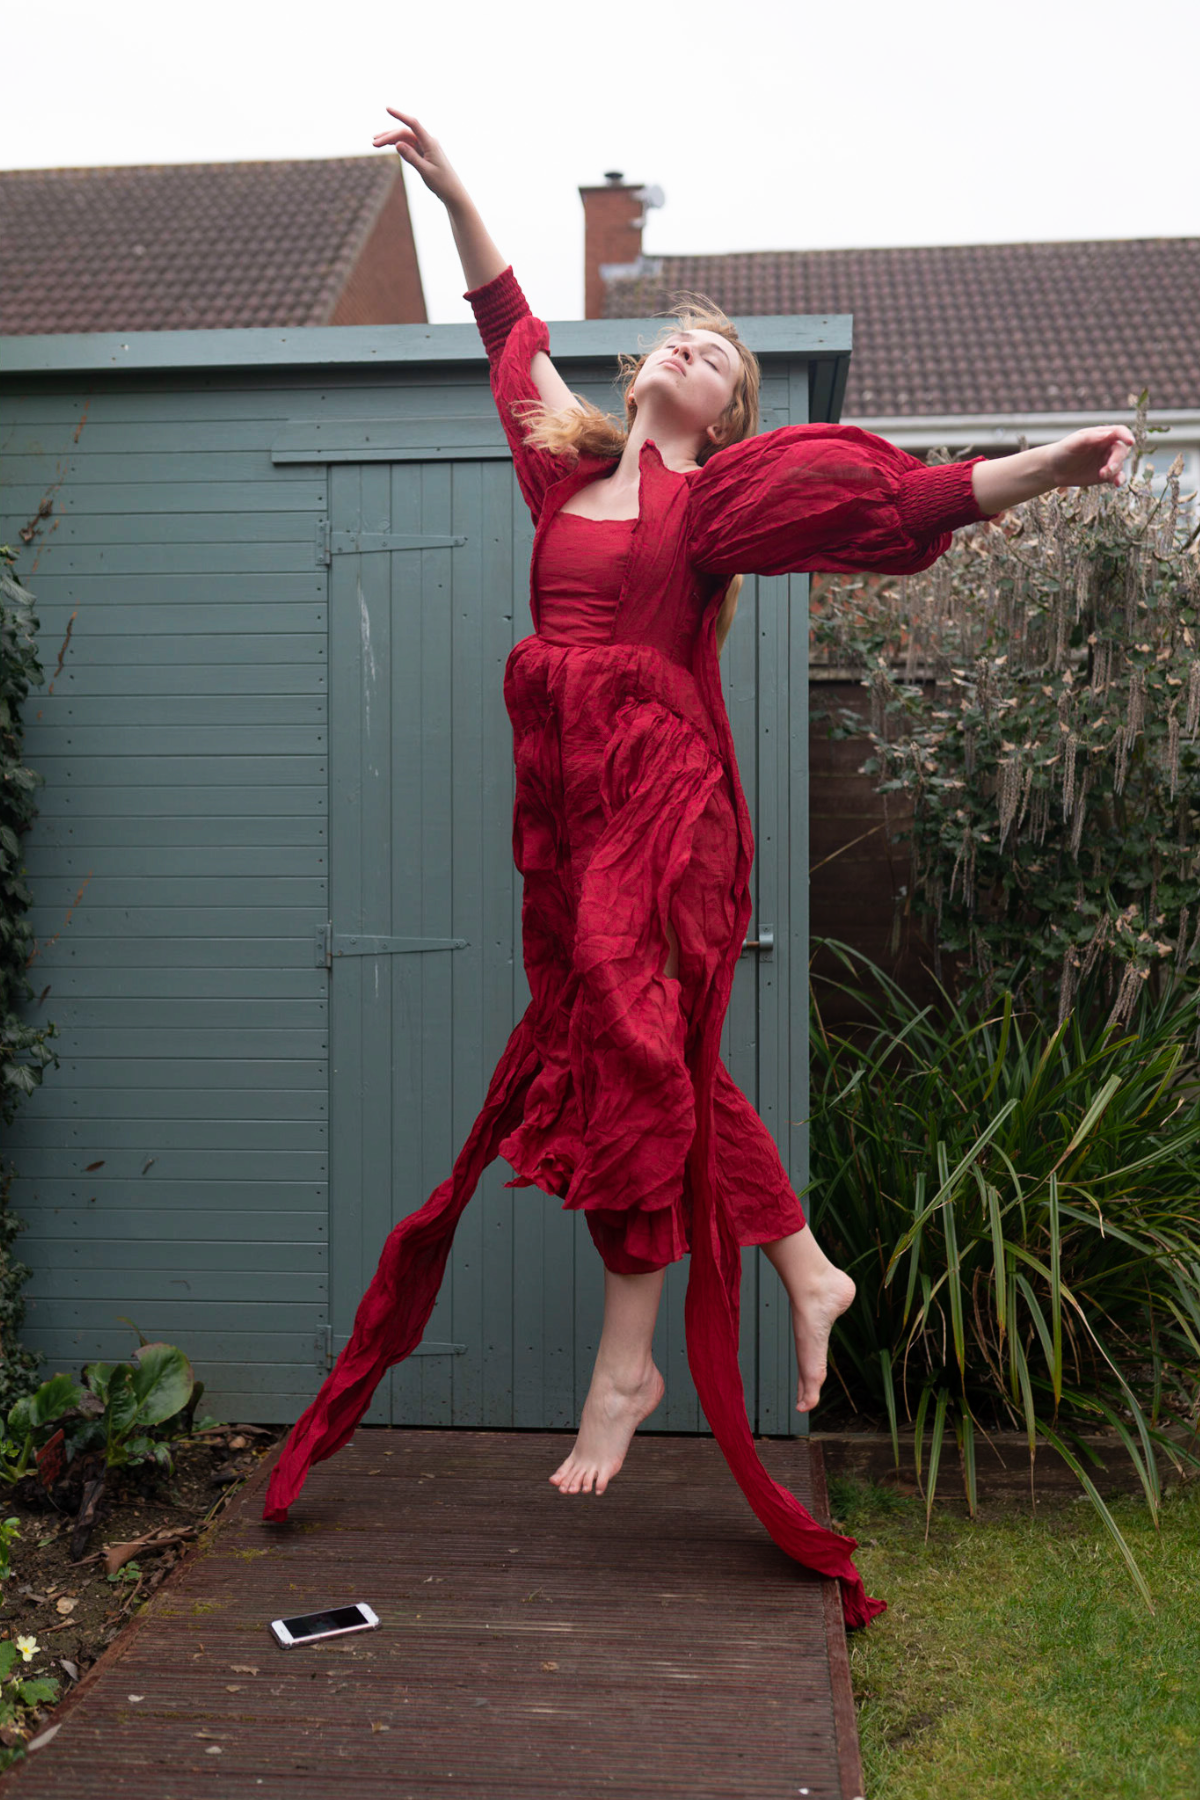
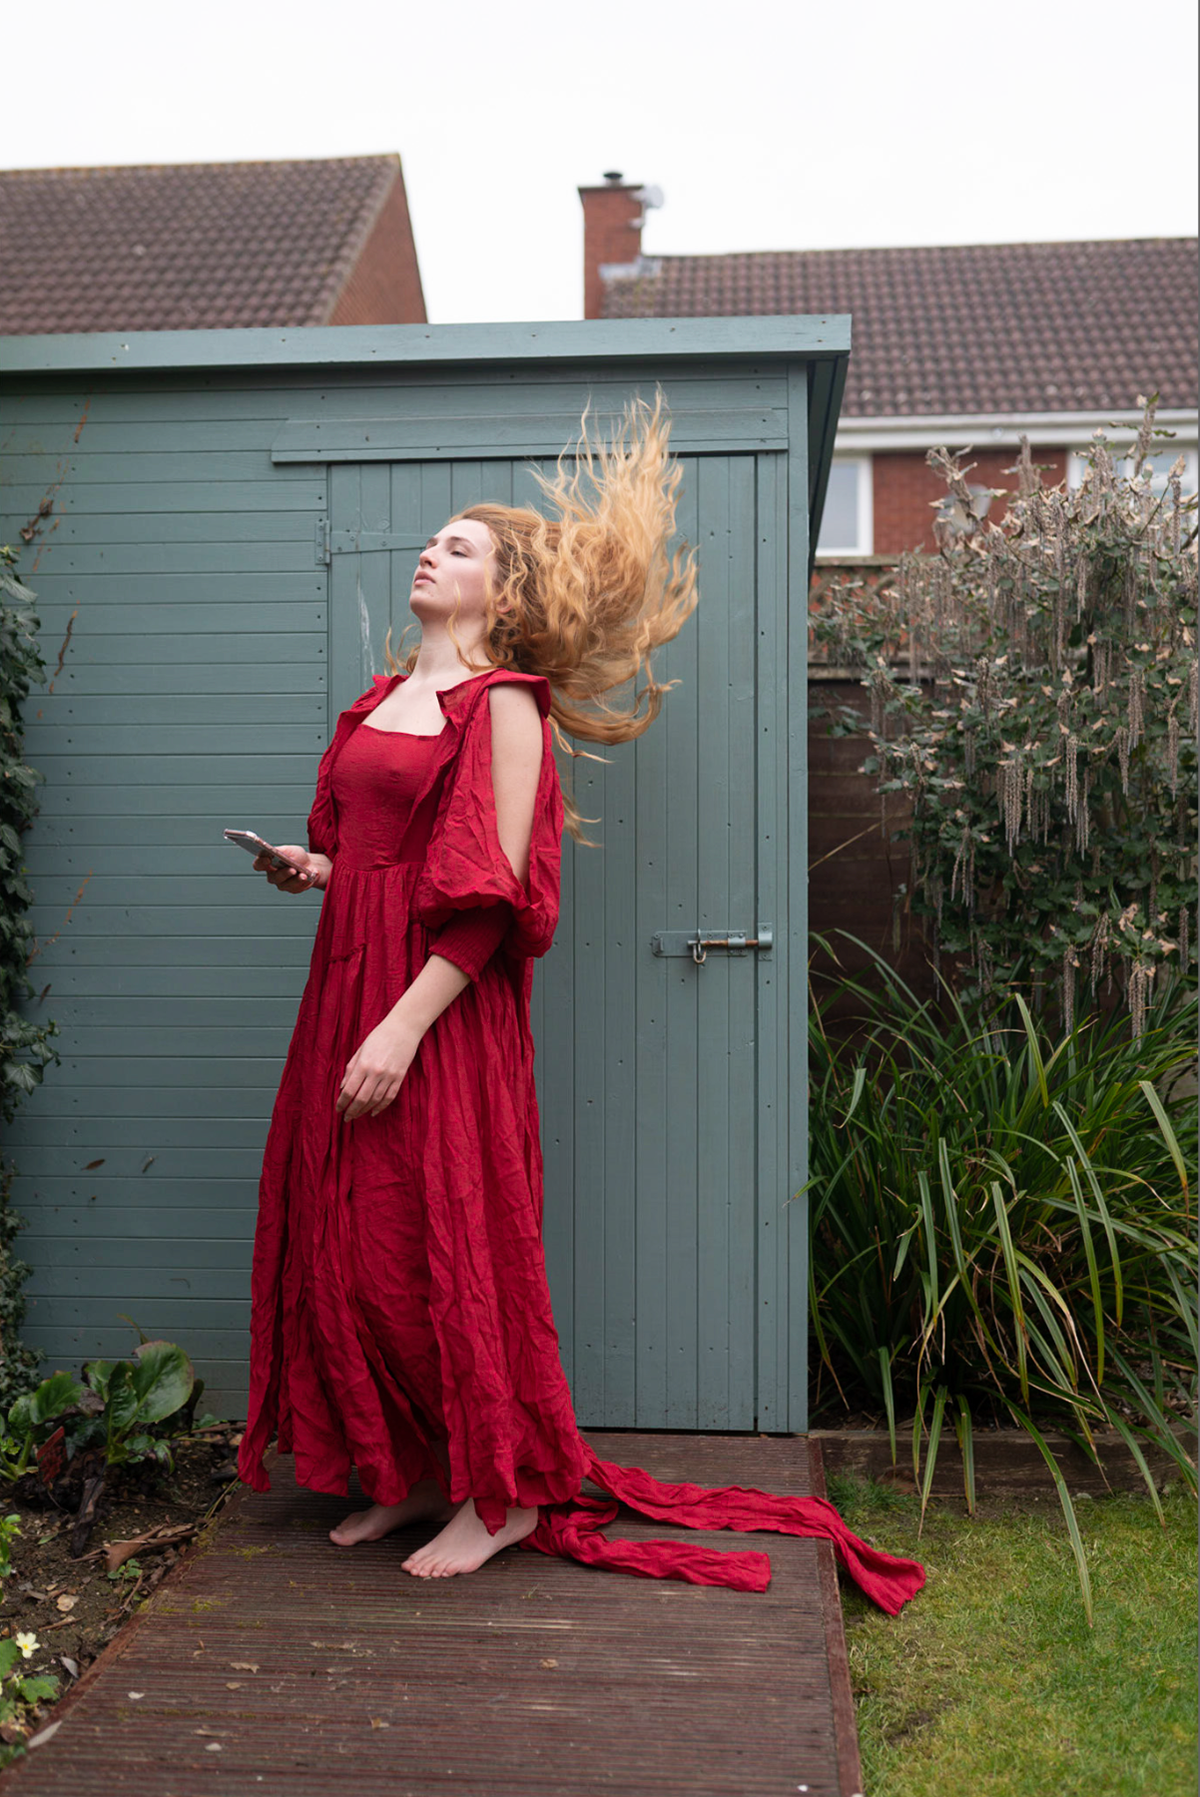
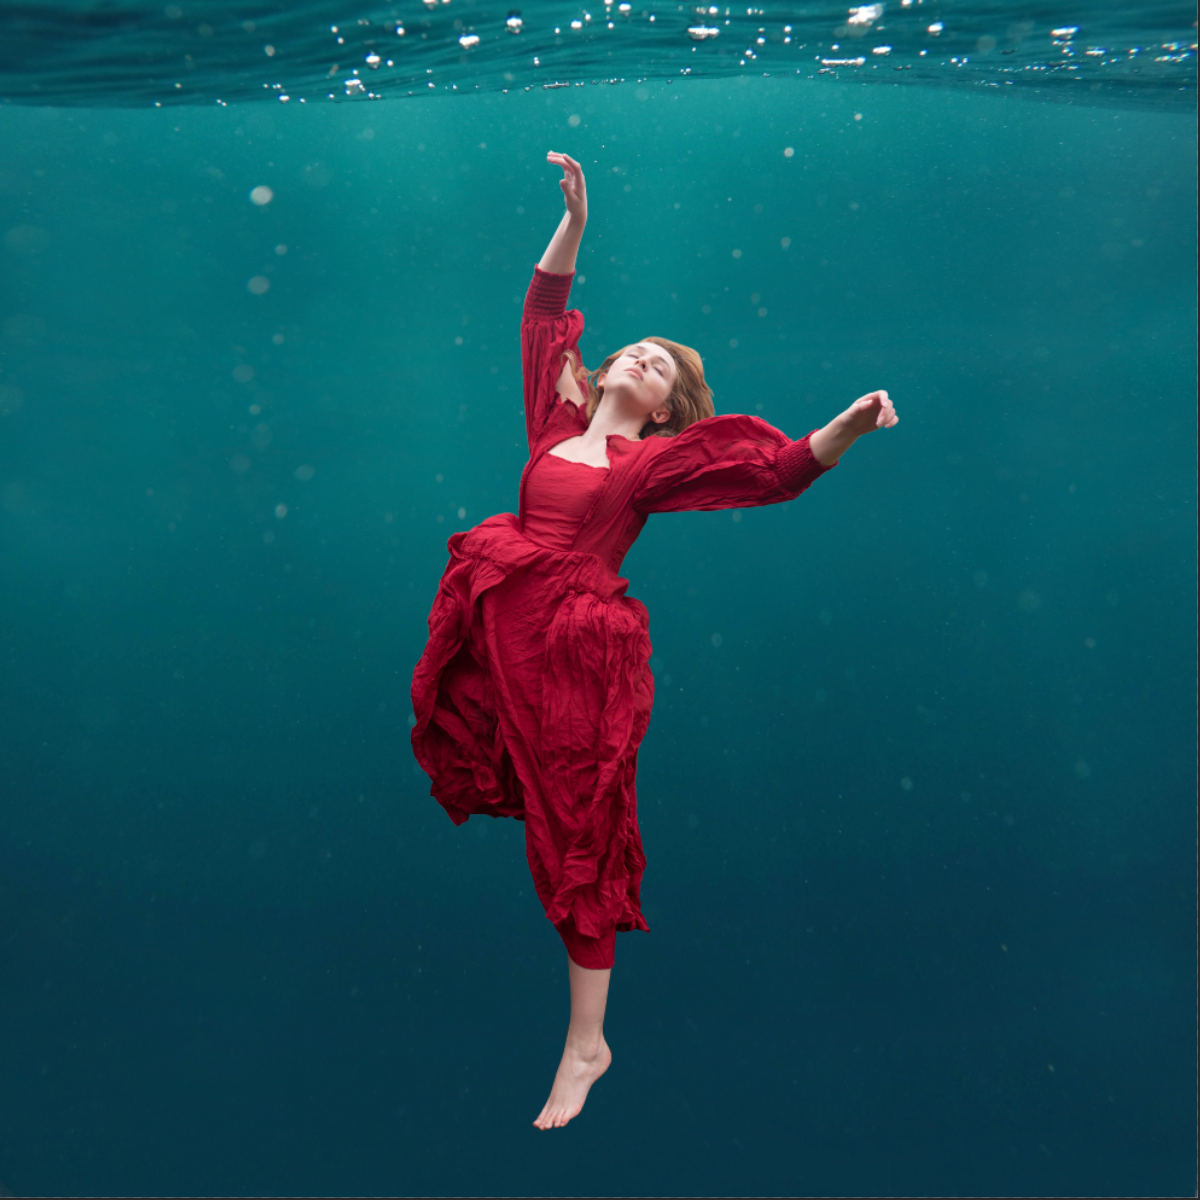
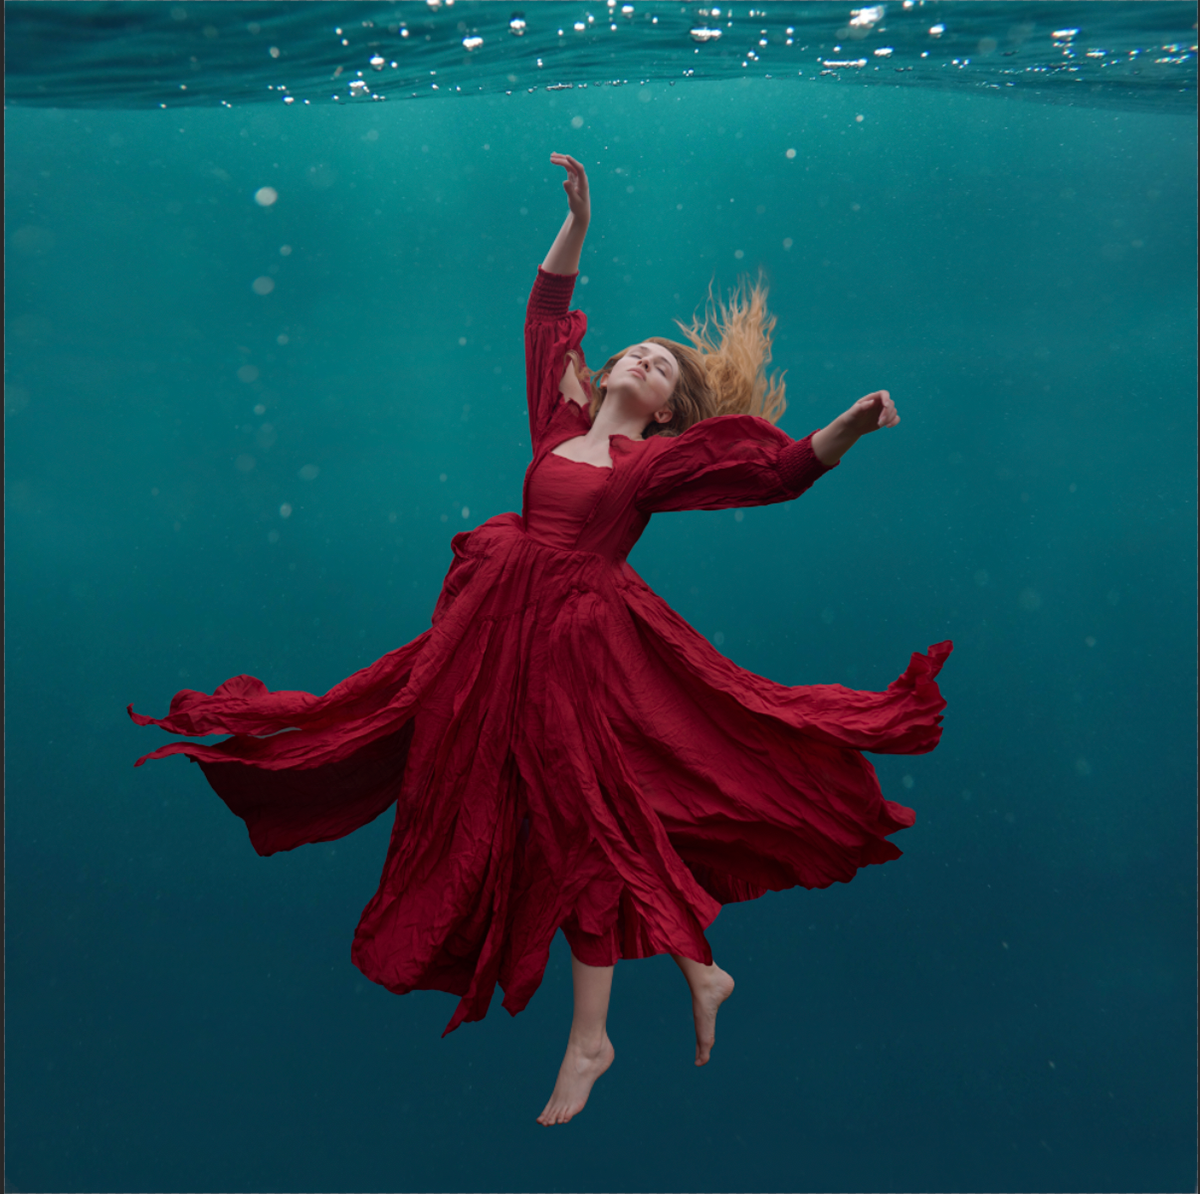
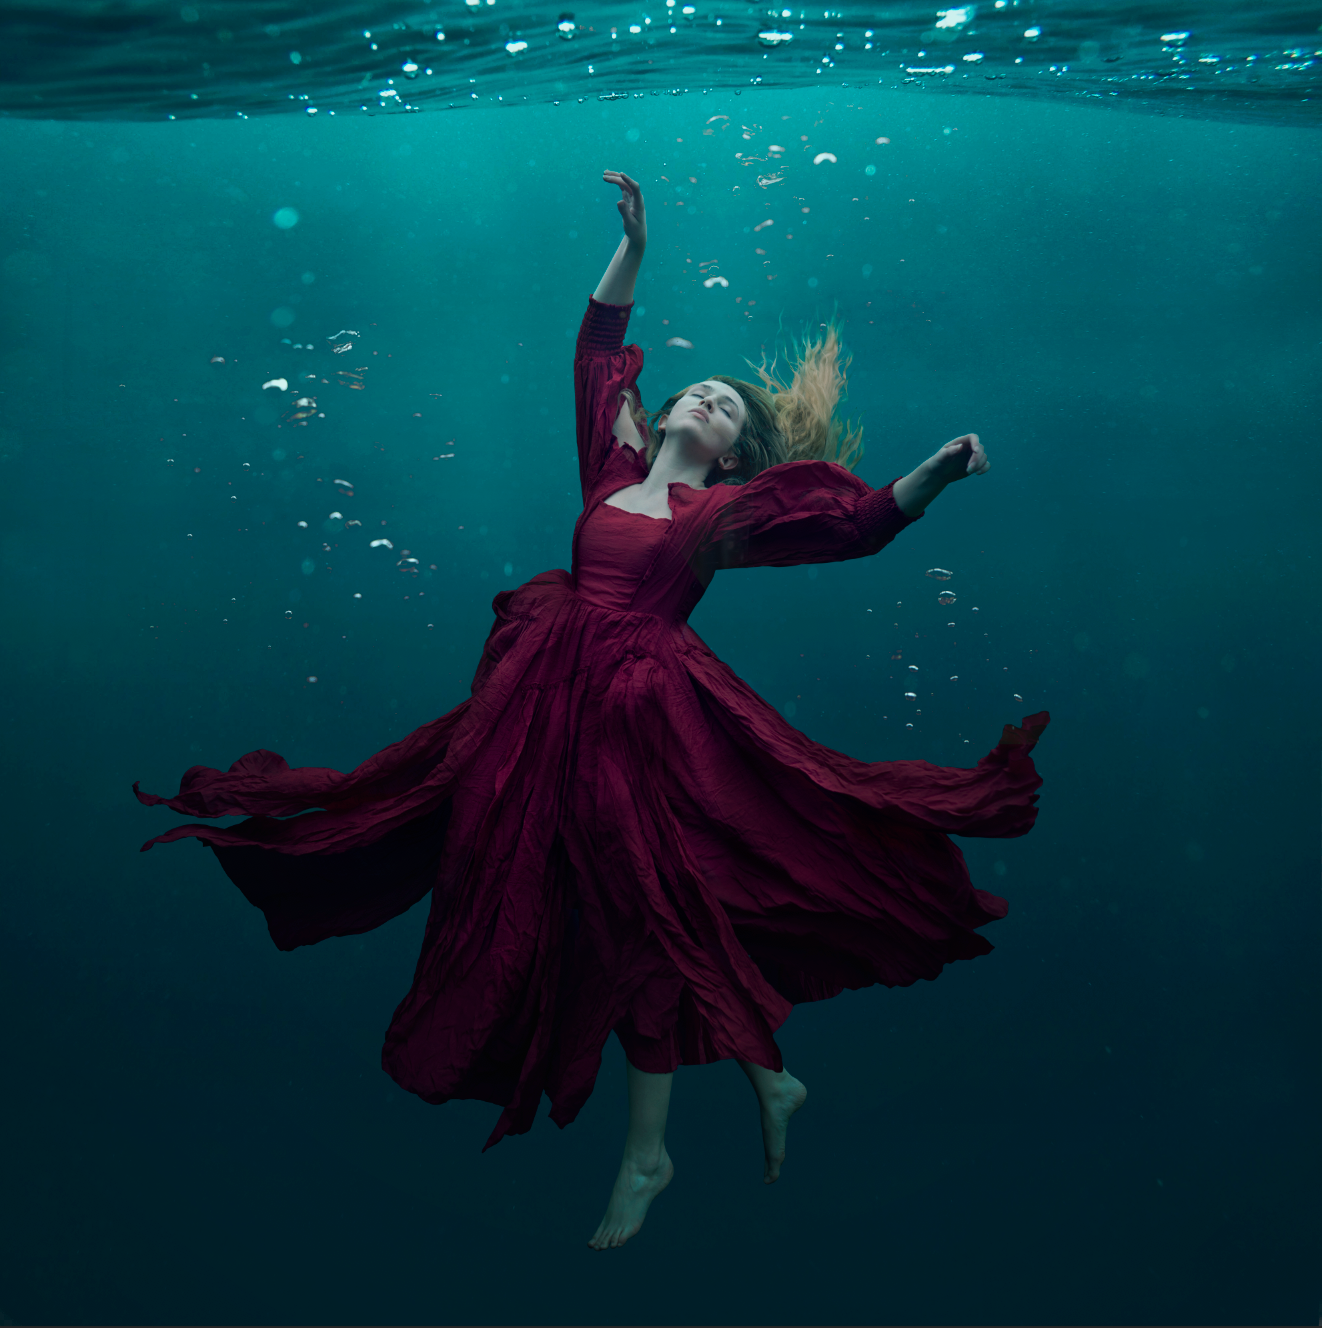
Luckily for me, my garden is a reasonable size. I knew that to give the impression I was underwater, I would need to jump about. My floating hair and dress is what would add to the illusion I was sinking. To do this, I stood in front of the teal coloured shed, in the hopes that the lighter backdrop would make it easier to cut my hair out later in post-processing.
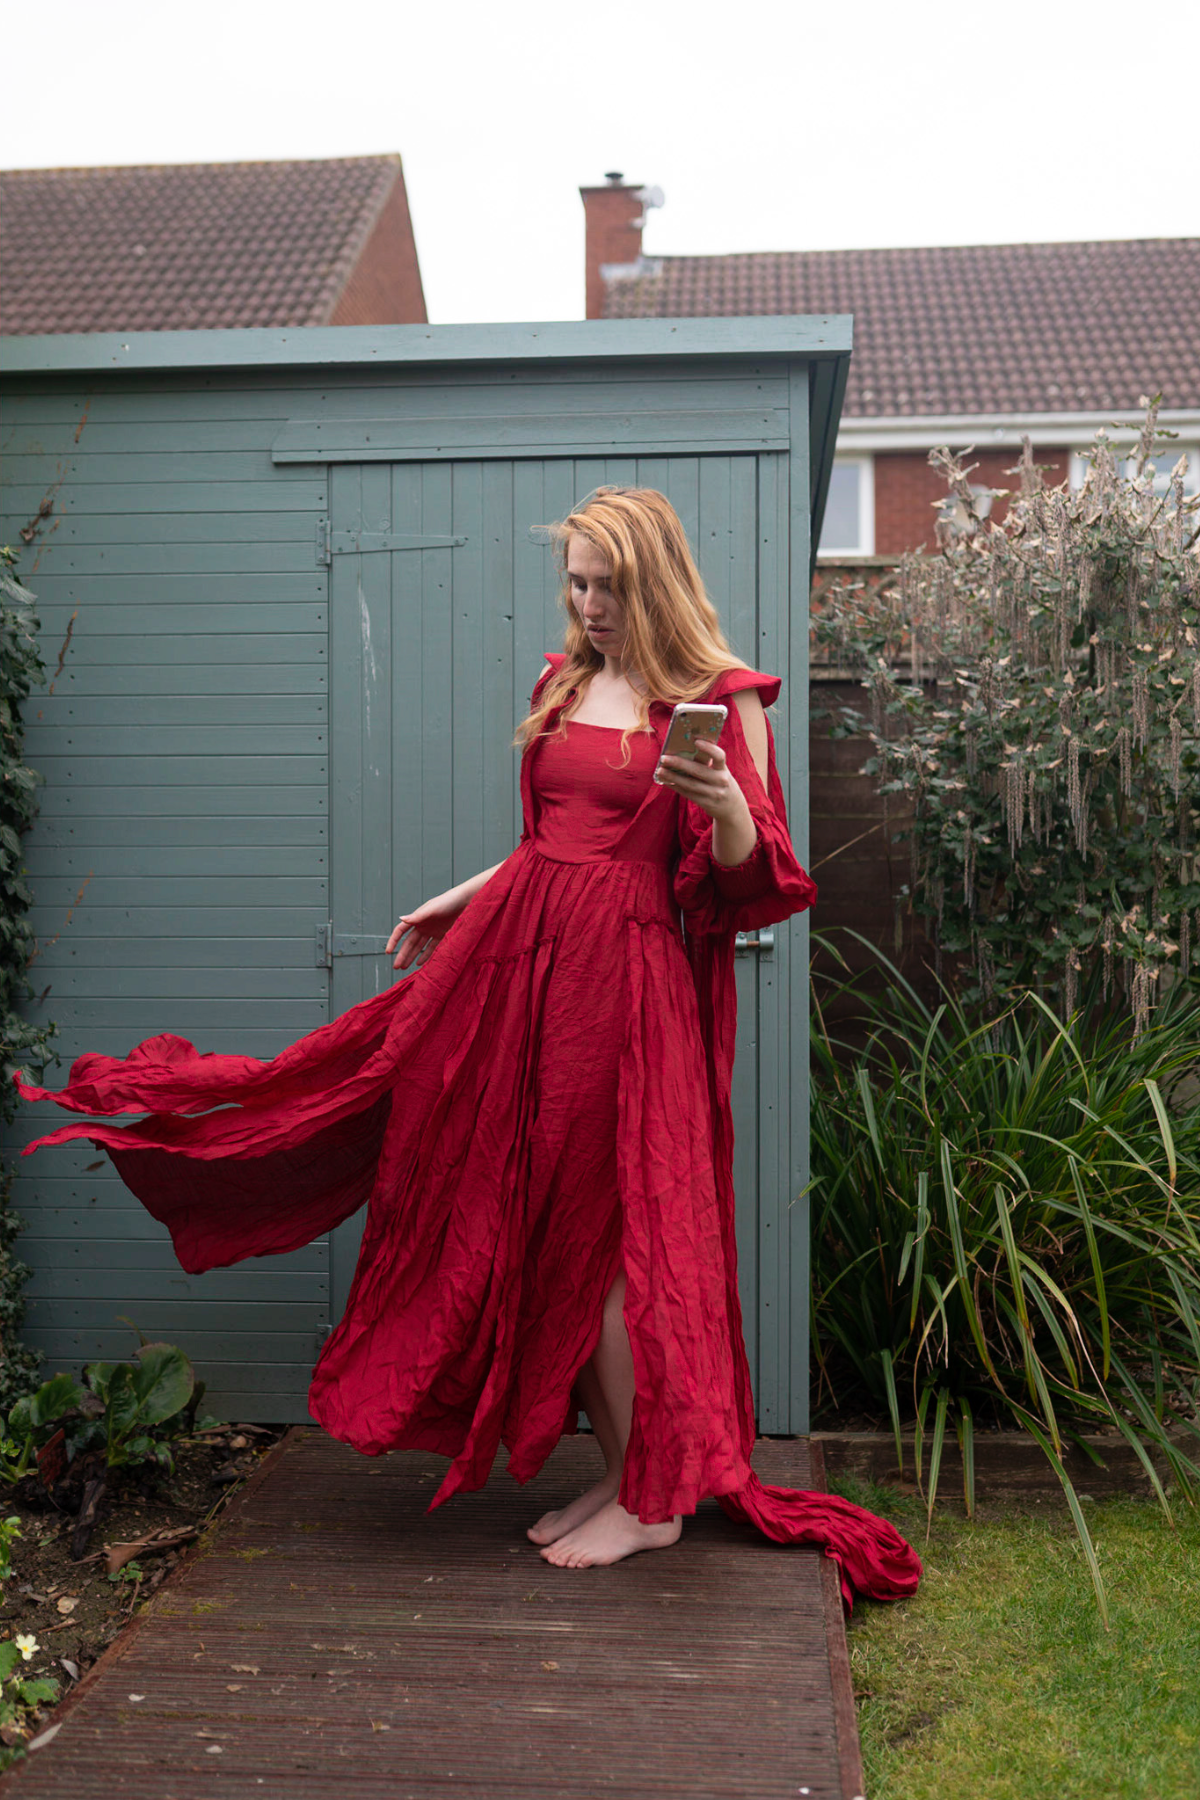
One of the reasons I chose this dress was because there is so much material to work with! So after getting my pose right (jumping is incredibly to difficult to capture when using a timer and remote, btw!), I took plenty of separate shots of my hair and dress.


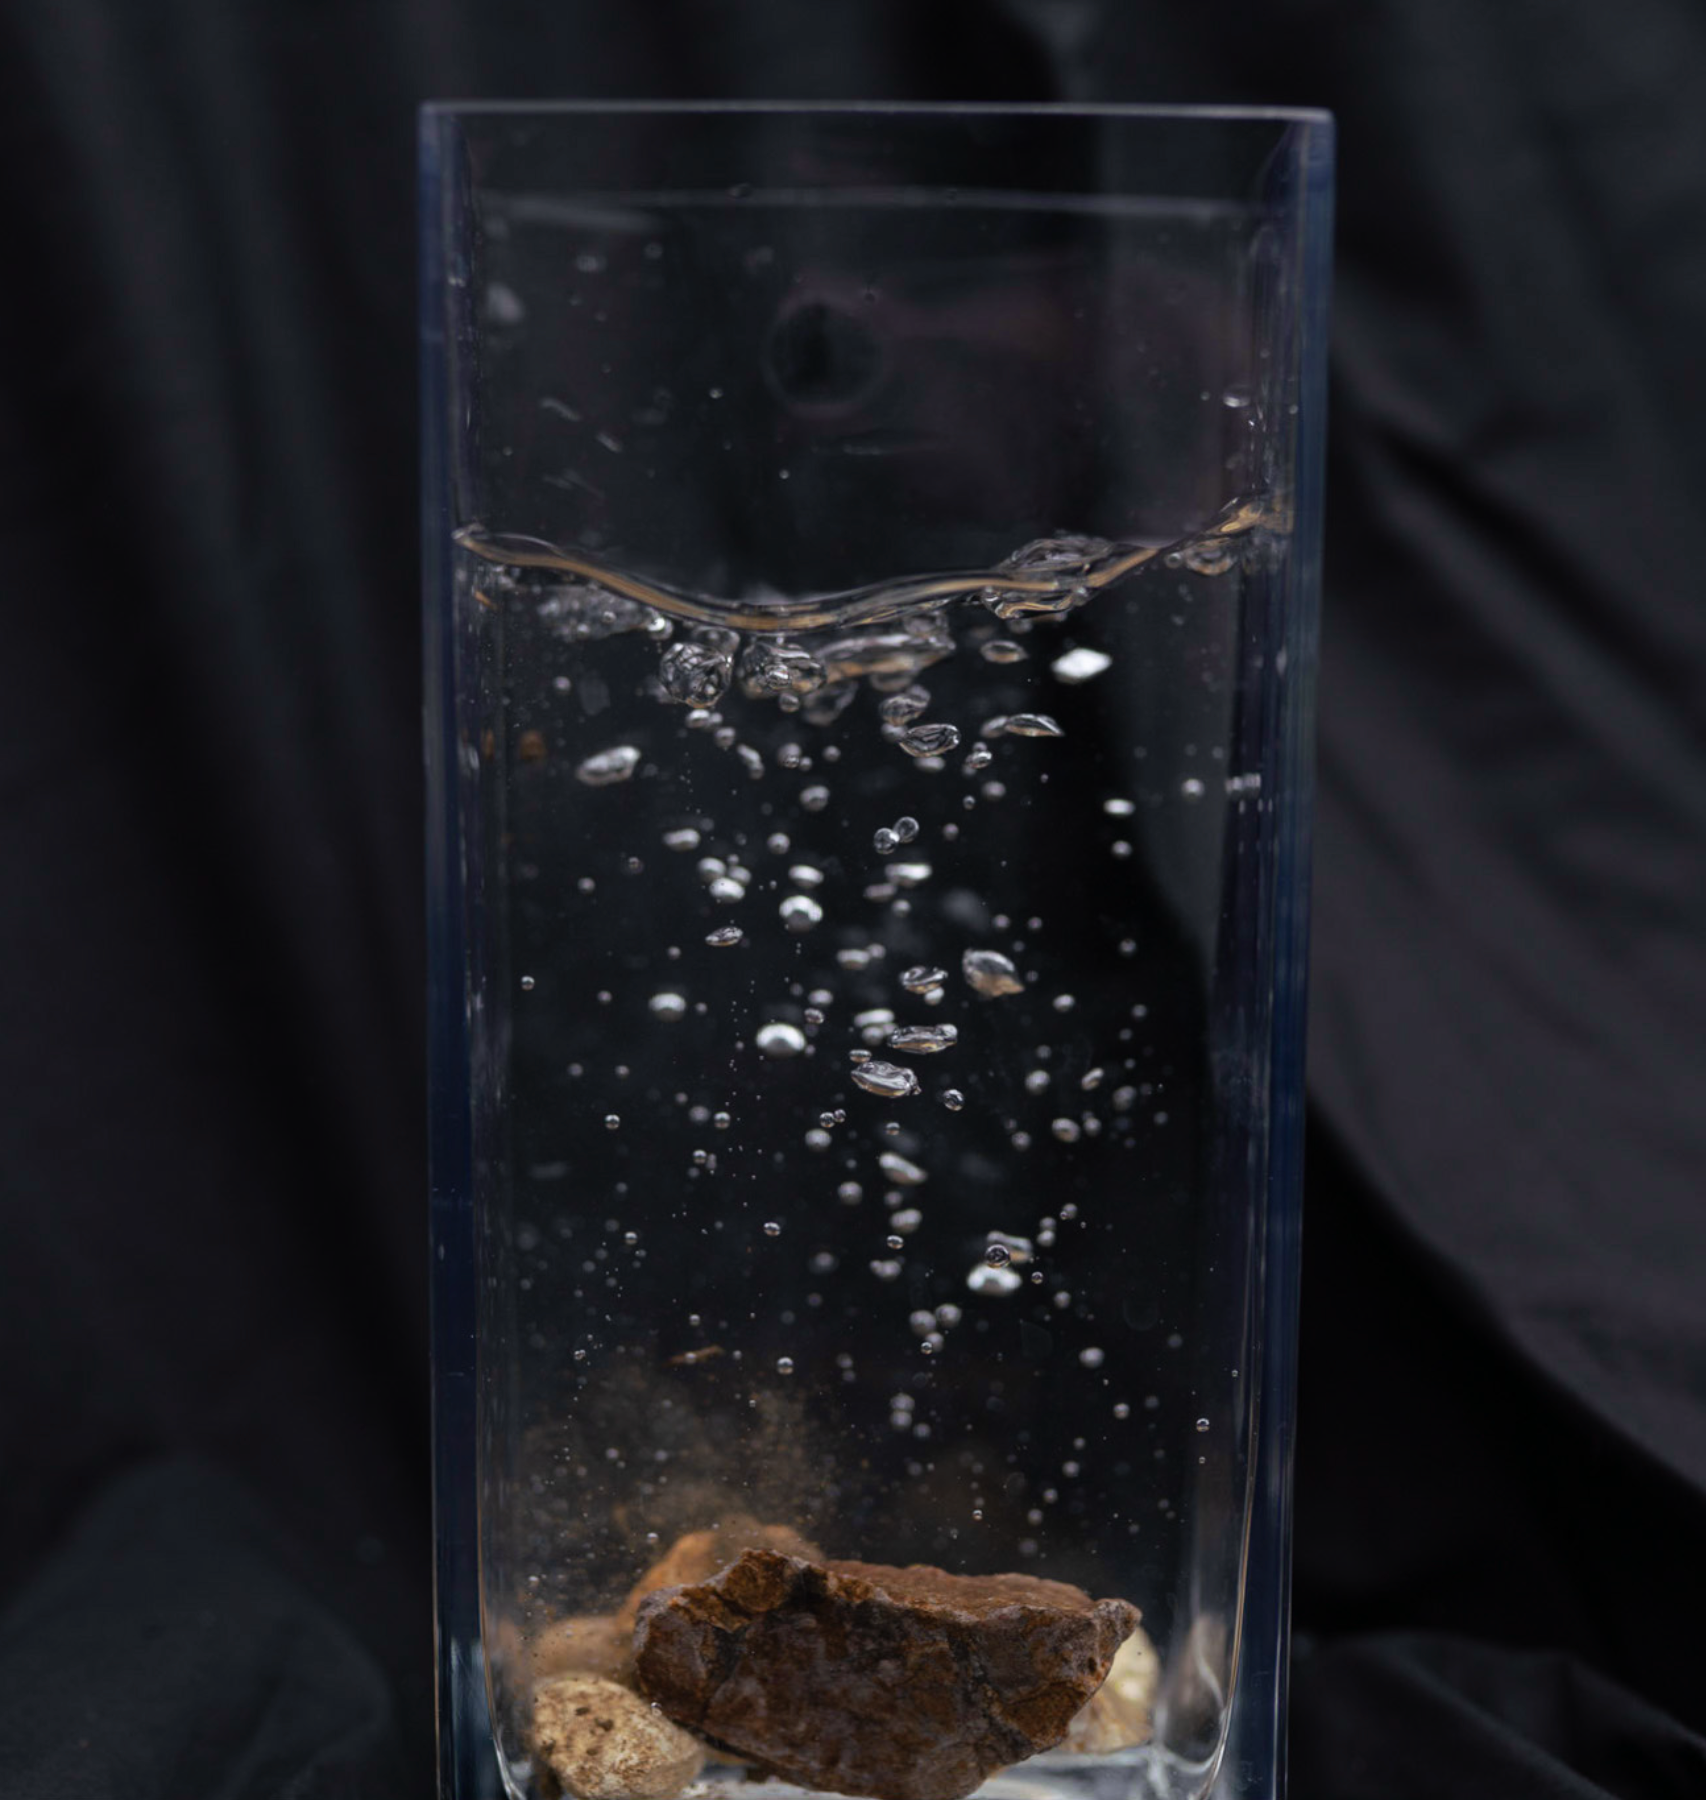
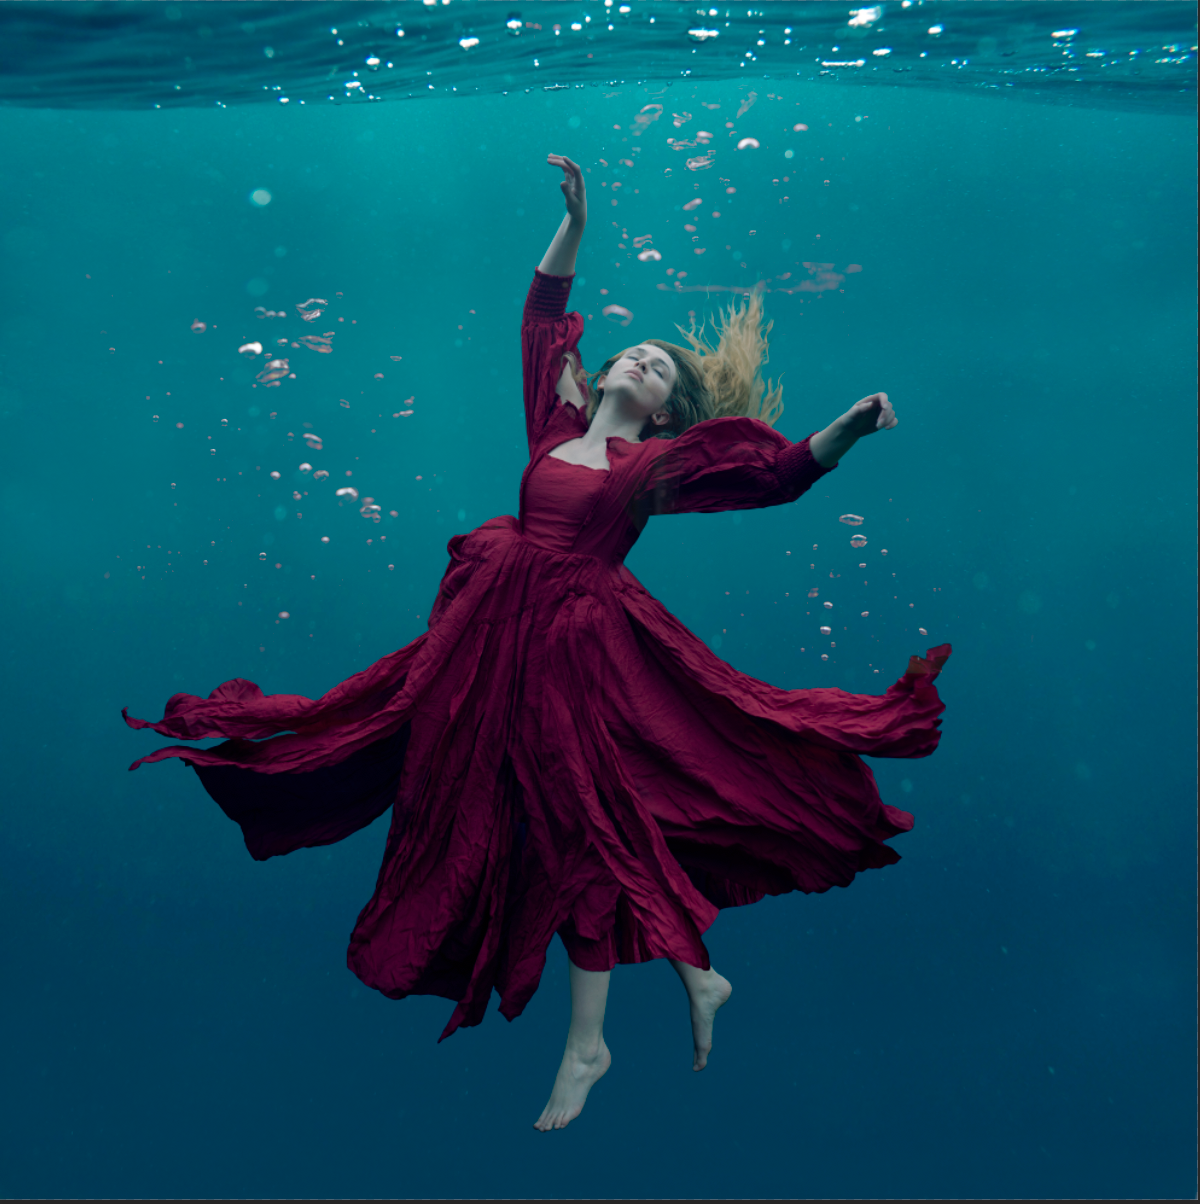
For my background, I found this water texture by Jeremy Bishop on Unsplash. I created air bubble stock by photographing myself dropping pebbles into a clear vase on a black backdrop.
Fun fact: Mum yelled at me for dropping pebbles into her vase because 'I might break it'. Later that evening, Dad dropped said vase on the floor. RIP vase.
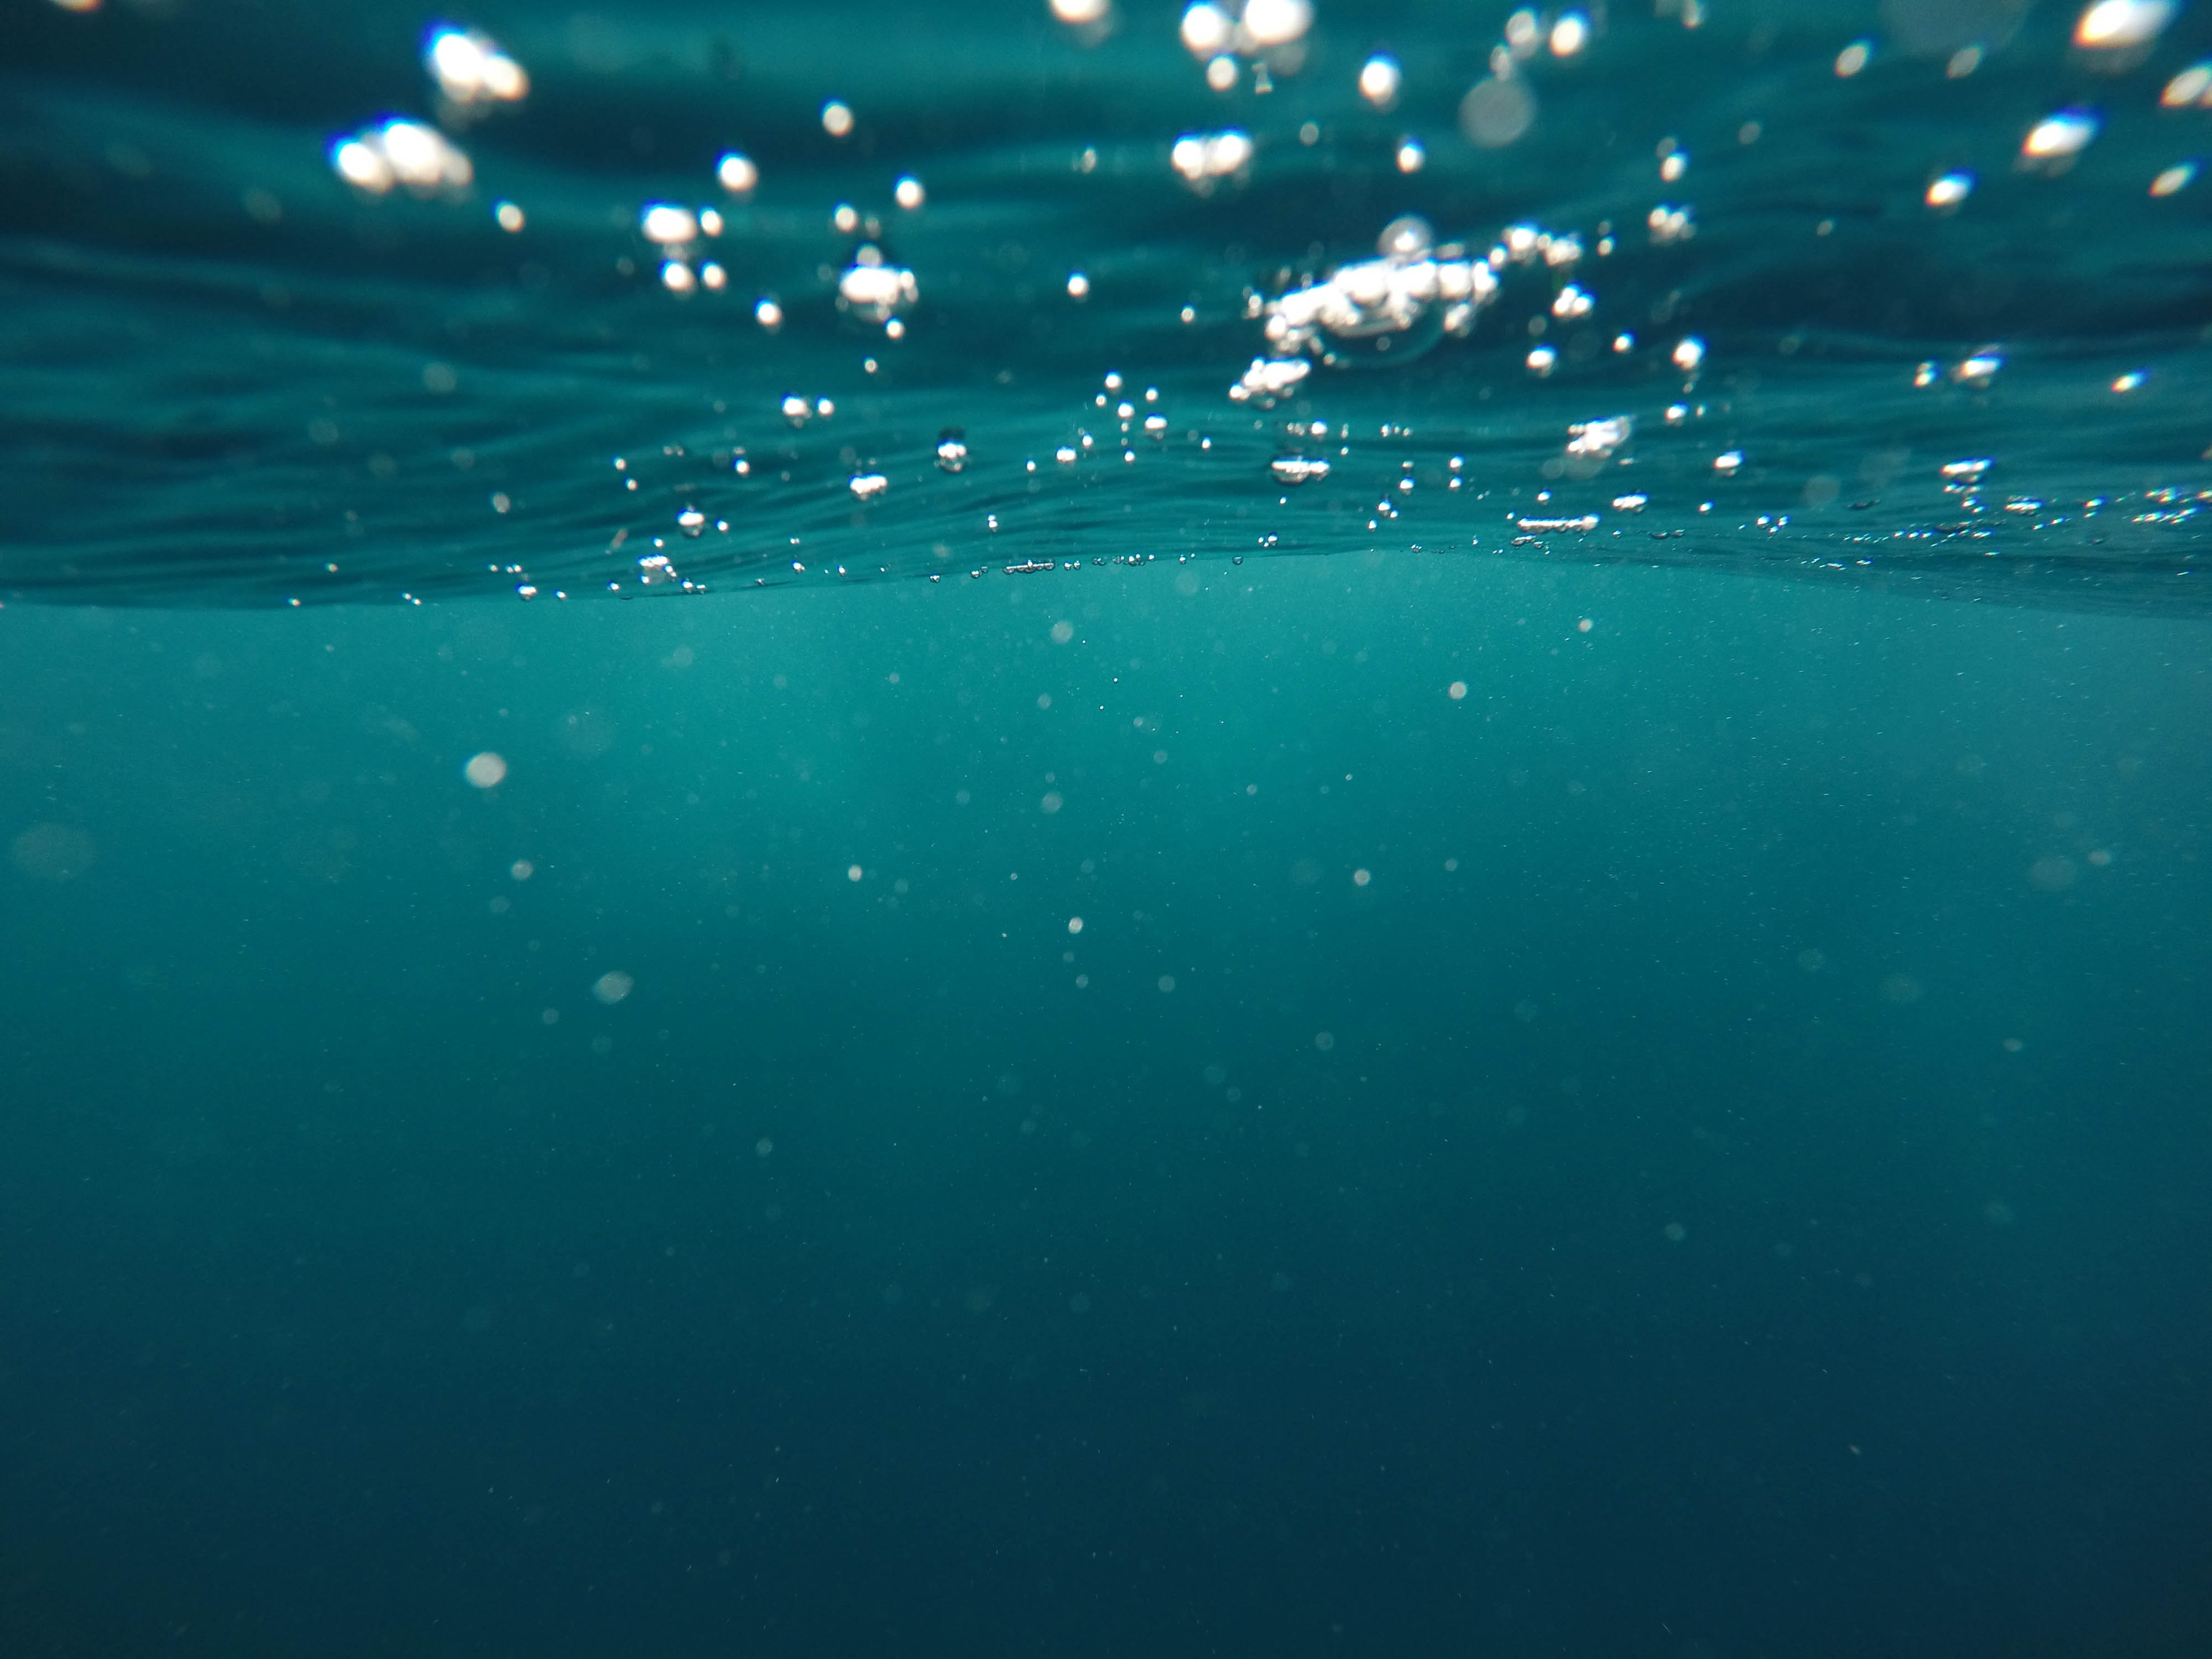
Photo by Jeremy Bishop, Unsplash
The first thing I had to do was cut myself out and decide how big or small I should be against the background. I actually cut my right foot from the original photo because it was hidden quite a bit by the dress. Once I had replaced it with a foot from another image, I added in layers of dress and hair from the other photos
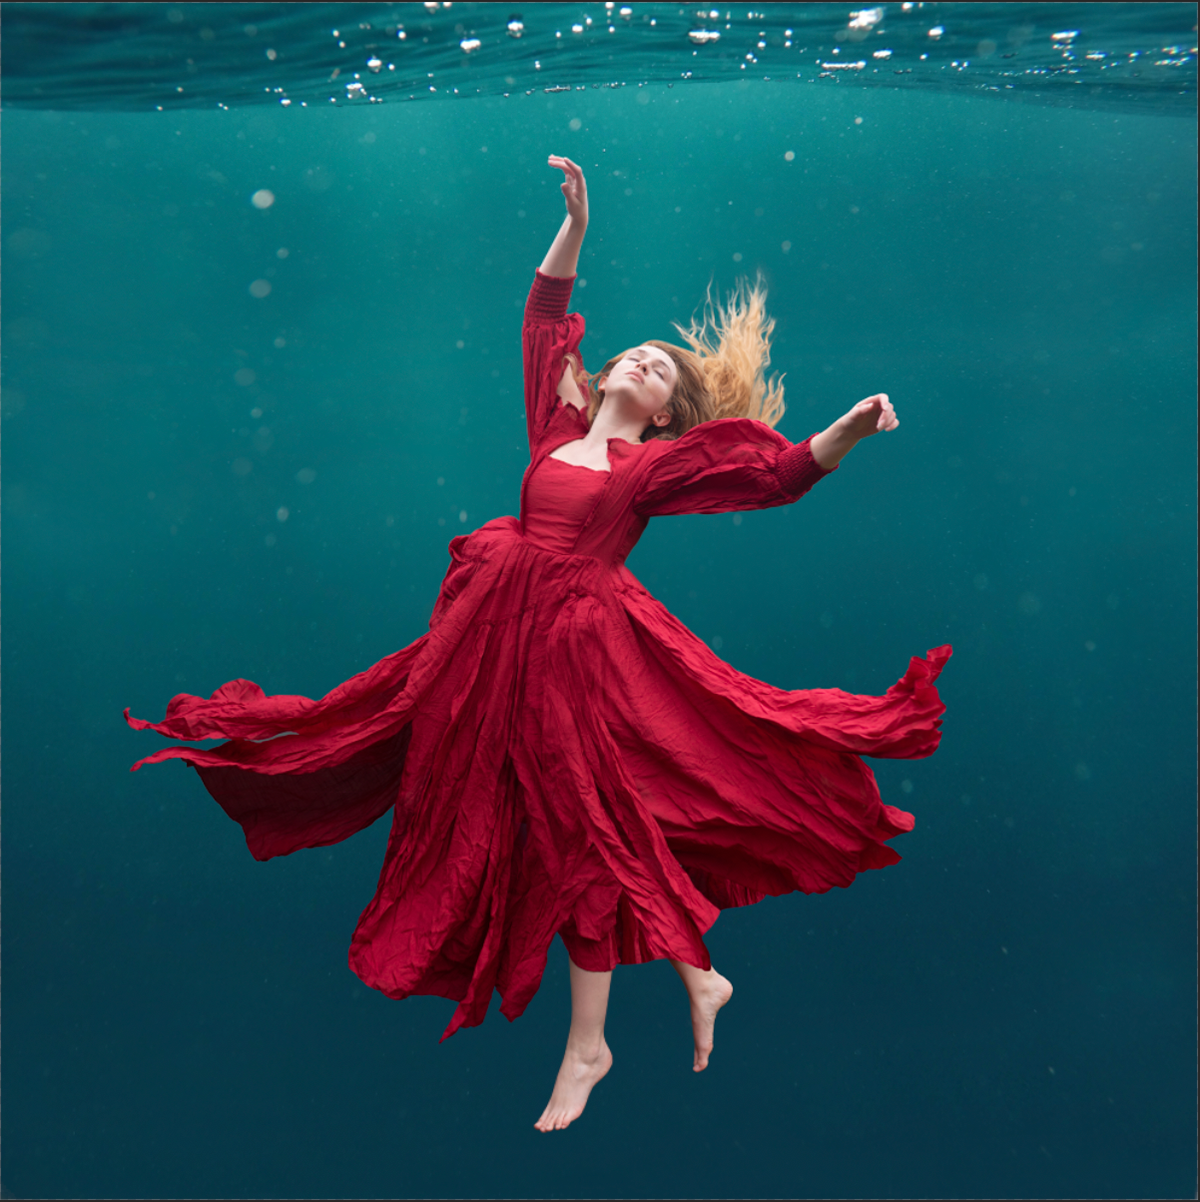
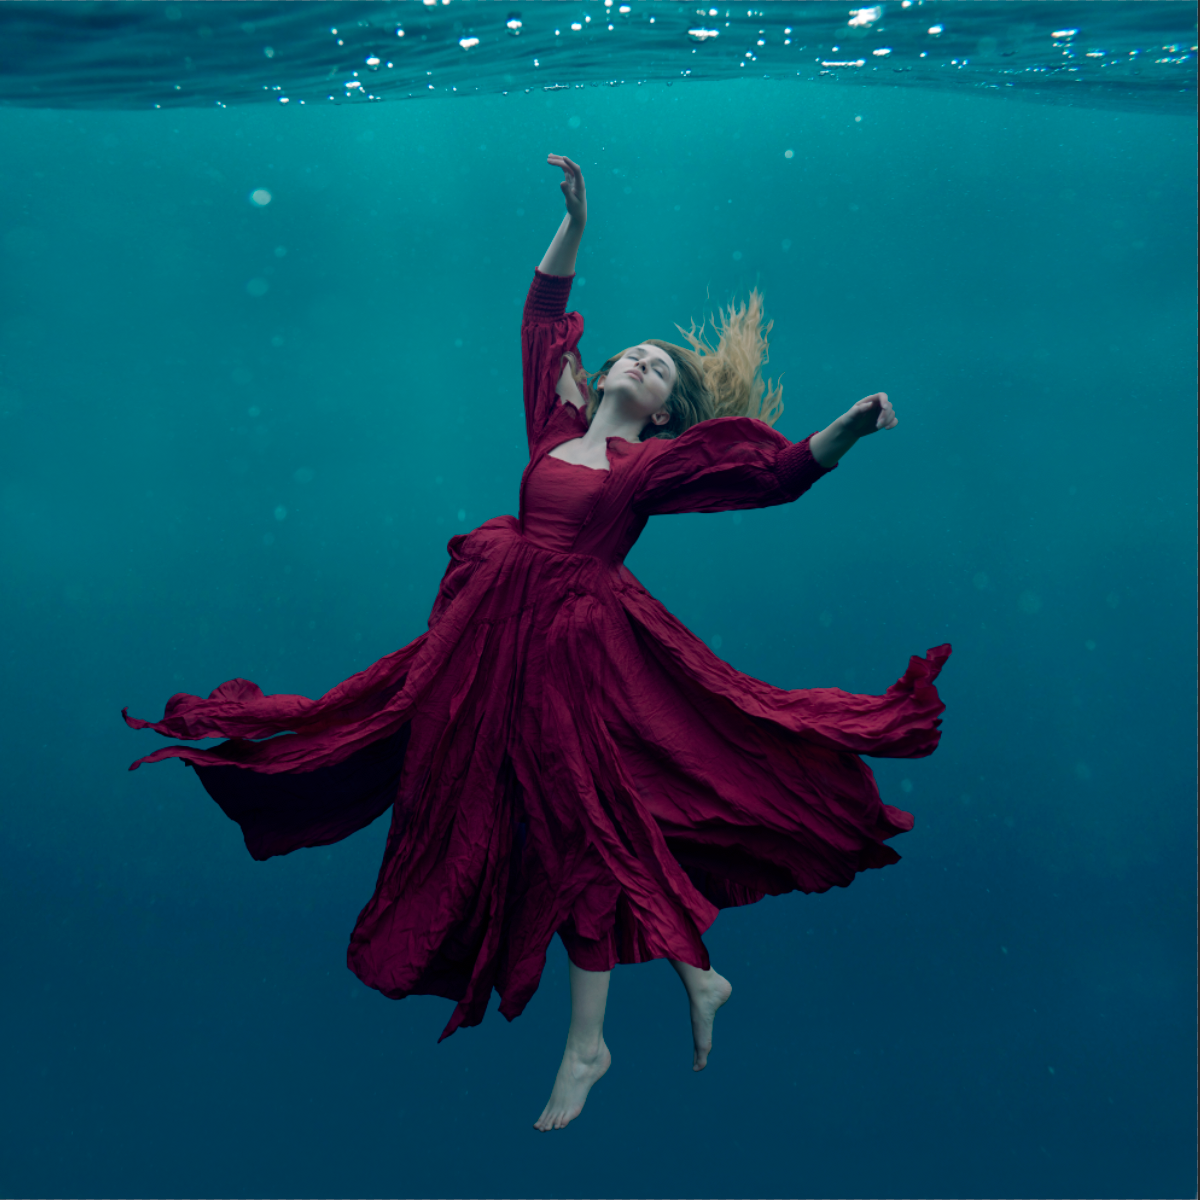
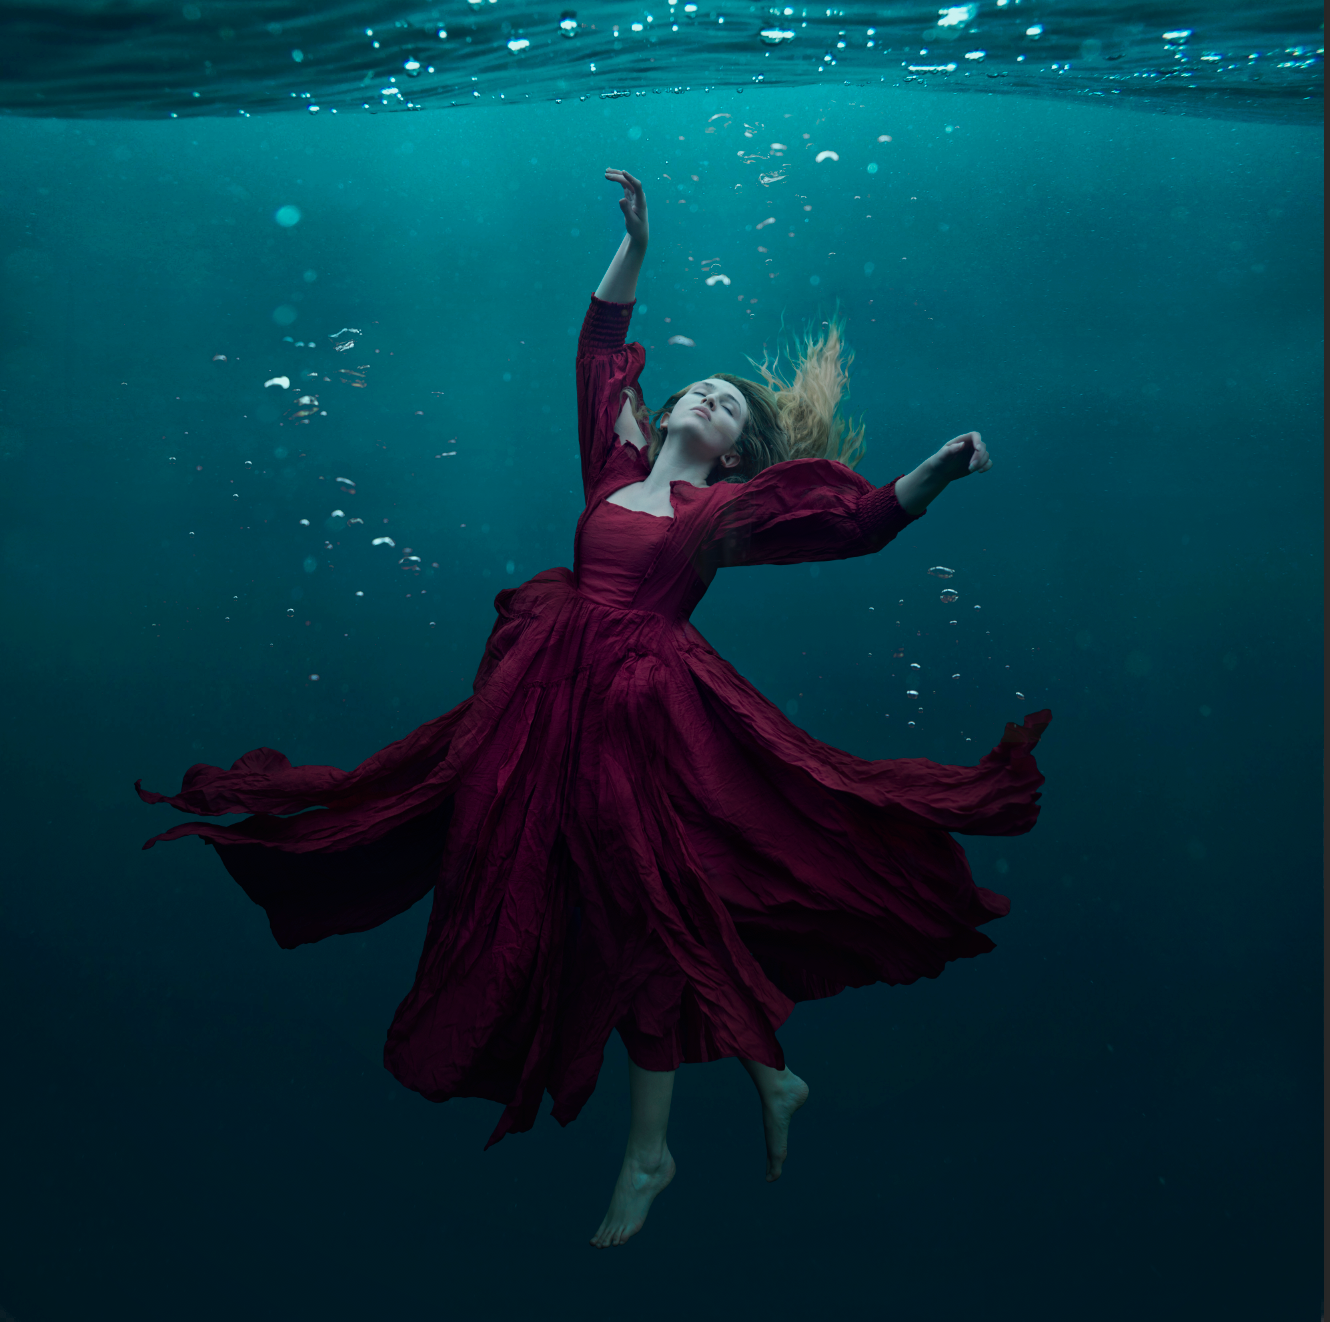
Next, I needed to make sure I blended in with the background I was compositing myself onto. First I adjusted the brightness until it looked like all the images had been shot in the same lighting. Then I used hue and saturation to add more blue and green tones to the layers of myself, so that it would look like I was submerged in water.
Next I added in the air bubbles. As this was shot against a black background, all I needed to do was change the blending mode to 'multiply' and clean up any awkward bits.
Once the composing is finished, I move onto my favourite phase – colour toning. I can spend hours playing with different adjustments layers, but for this piece I knew I needed green/blue tones for the water. I am a big fan of the colour toning actions from The Color Lab, and I will happily build stacks upon stacks of adjustment layers until I am happy with the result.
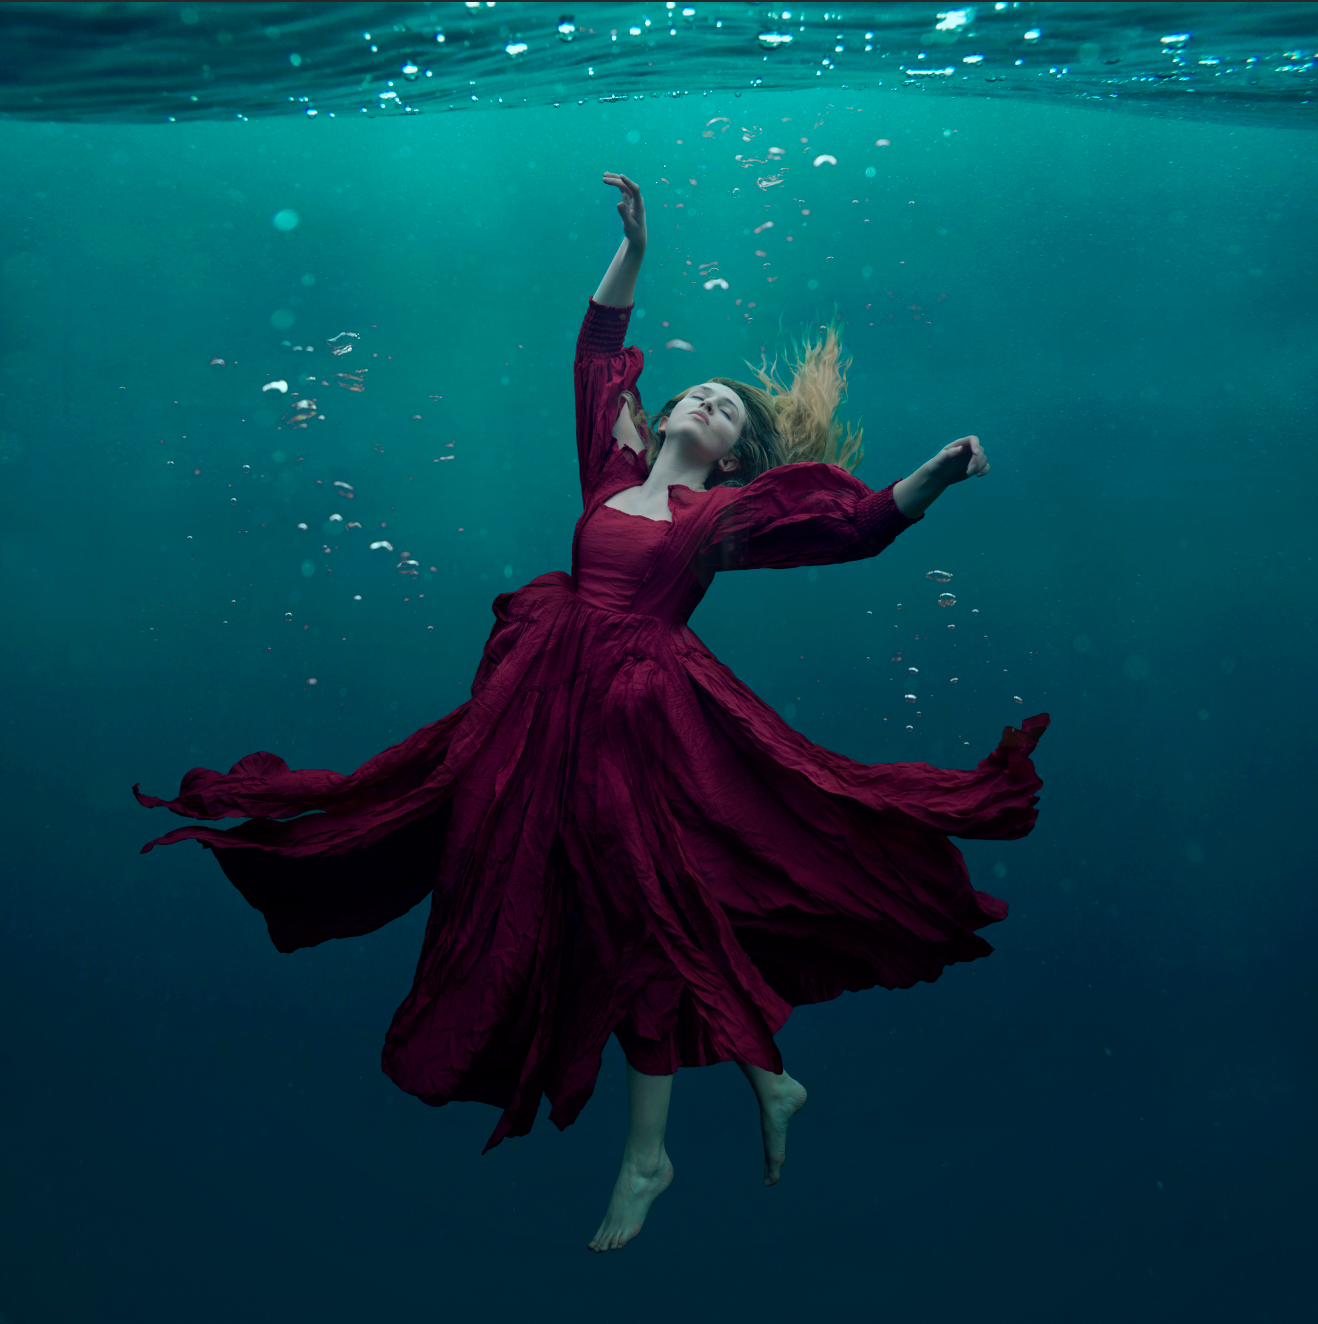
Next I will apply Dodge and Burn to my image. This allows me to emphasise the highlights and shadows already in the image, whilst also giving me control over which parts I want to be brighter or darker. As the colour toning led to this image being quite dark, I needed to bring light back into the face and dress details.
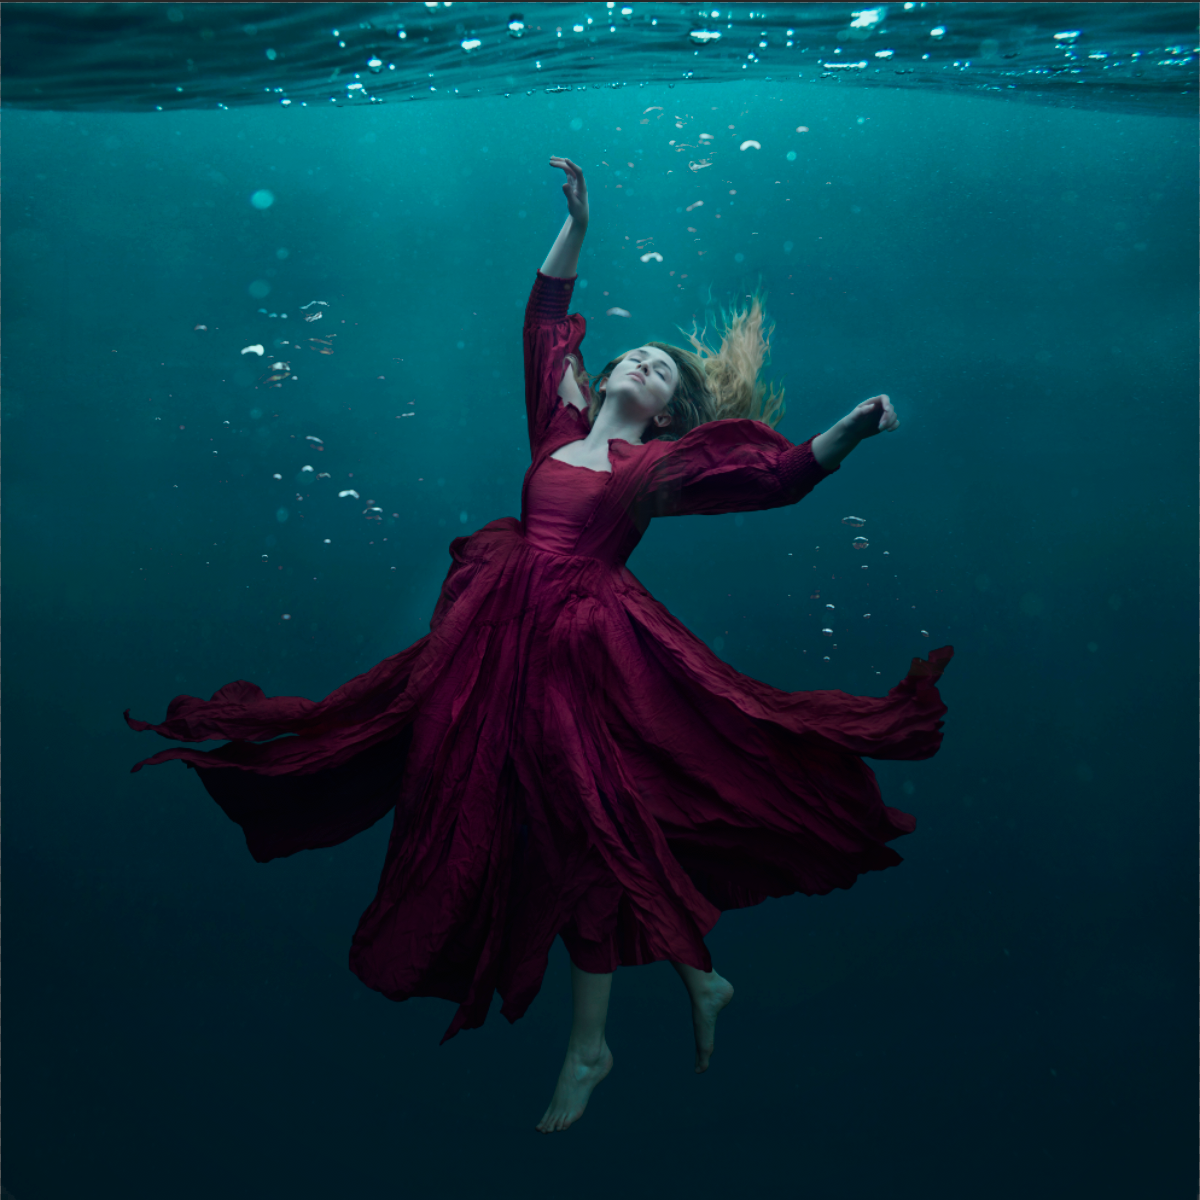
Now all that is left to do is make the final tweaks in Lightroom. I use Lightroom to tweak the photo's overall lighting by making my darks lighter or dimming the too bright whites. I also apply lens and orientation correction and a subtle vignette. Now we have a beautiful composition!
